
 Adventure
4 Days
Danakil Depression Expedition
3 nights · Flight and surface
Addis Ababa · Semera · Hamad Ela · Dallol
Price on request
LE-005 · Adventure
Five days combining an Addis Ababa city introduction with the full Danakil circuit — Semera, Lake Afdera, Dallol, Asale salt flats, and a night at Erta Ale.
Price on request
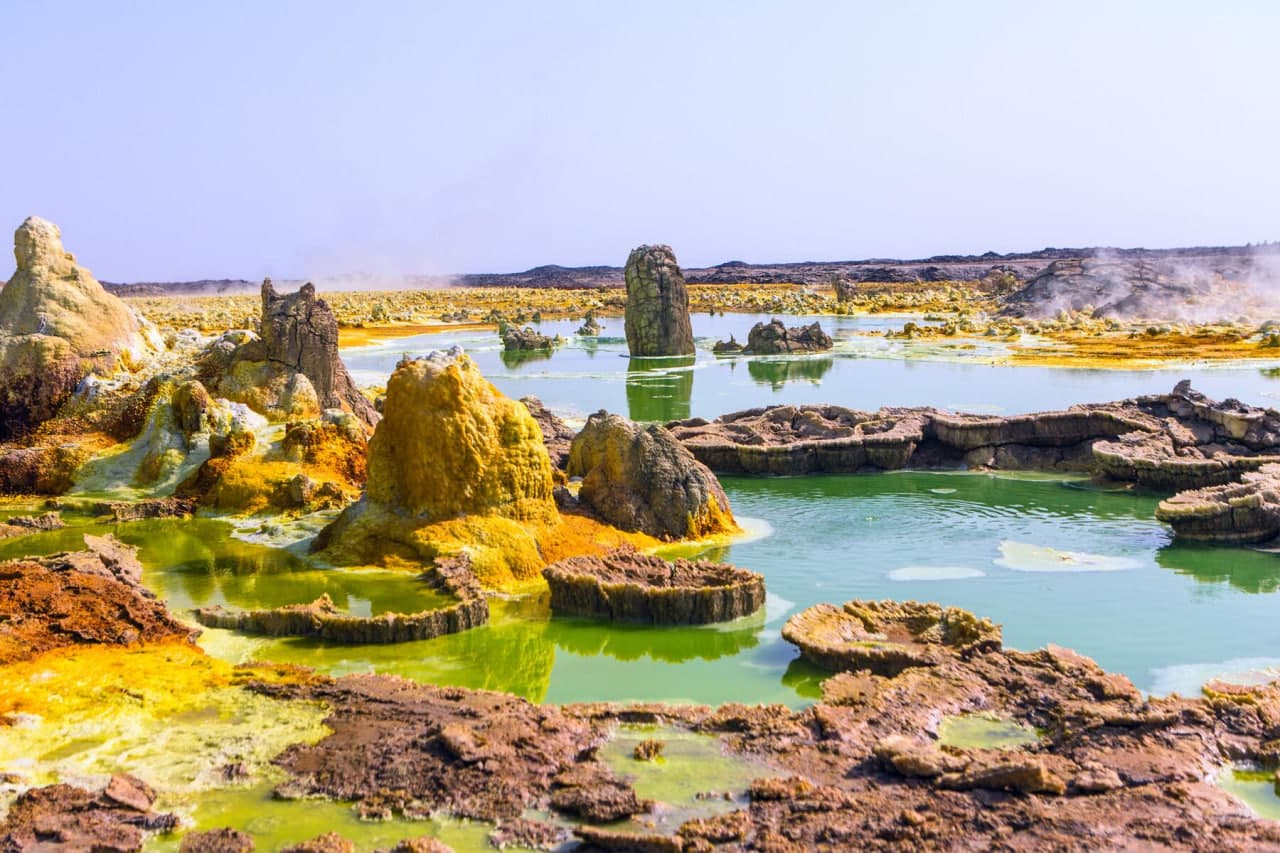
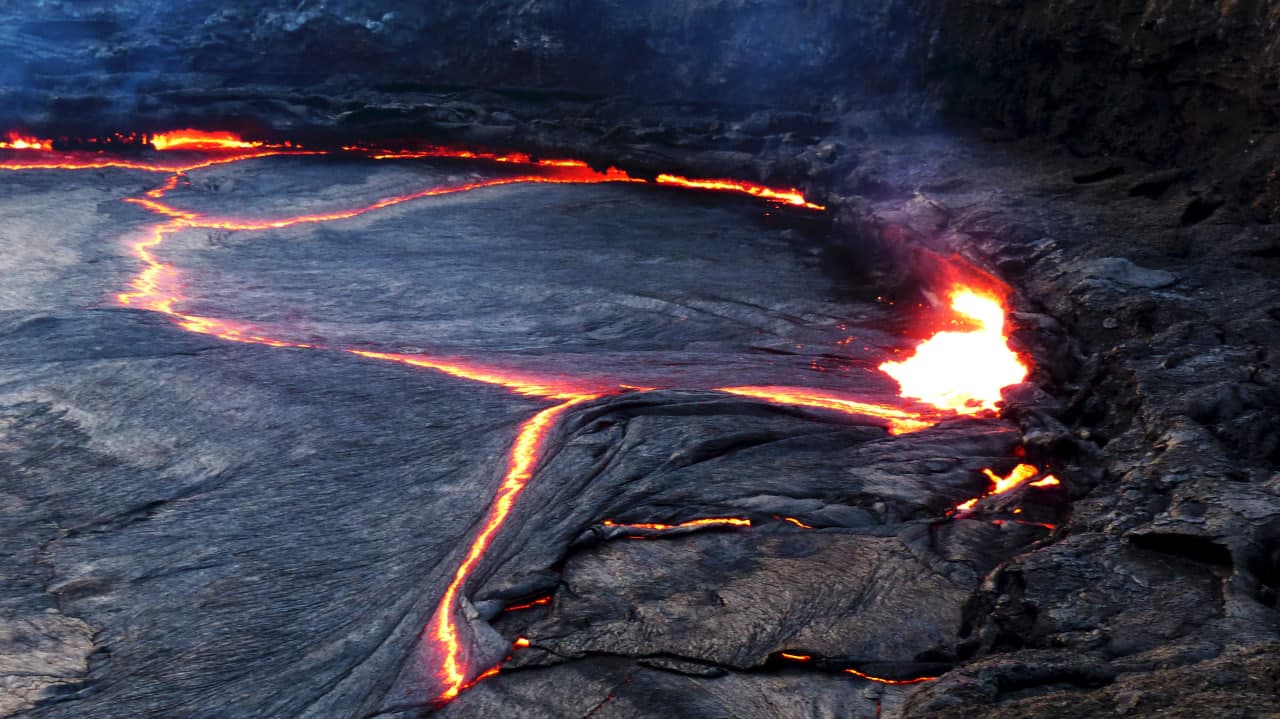
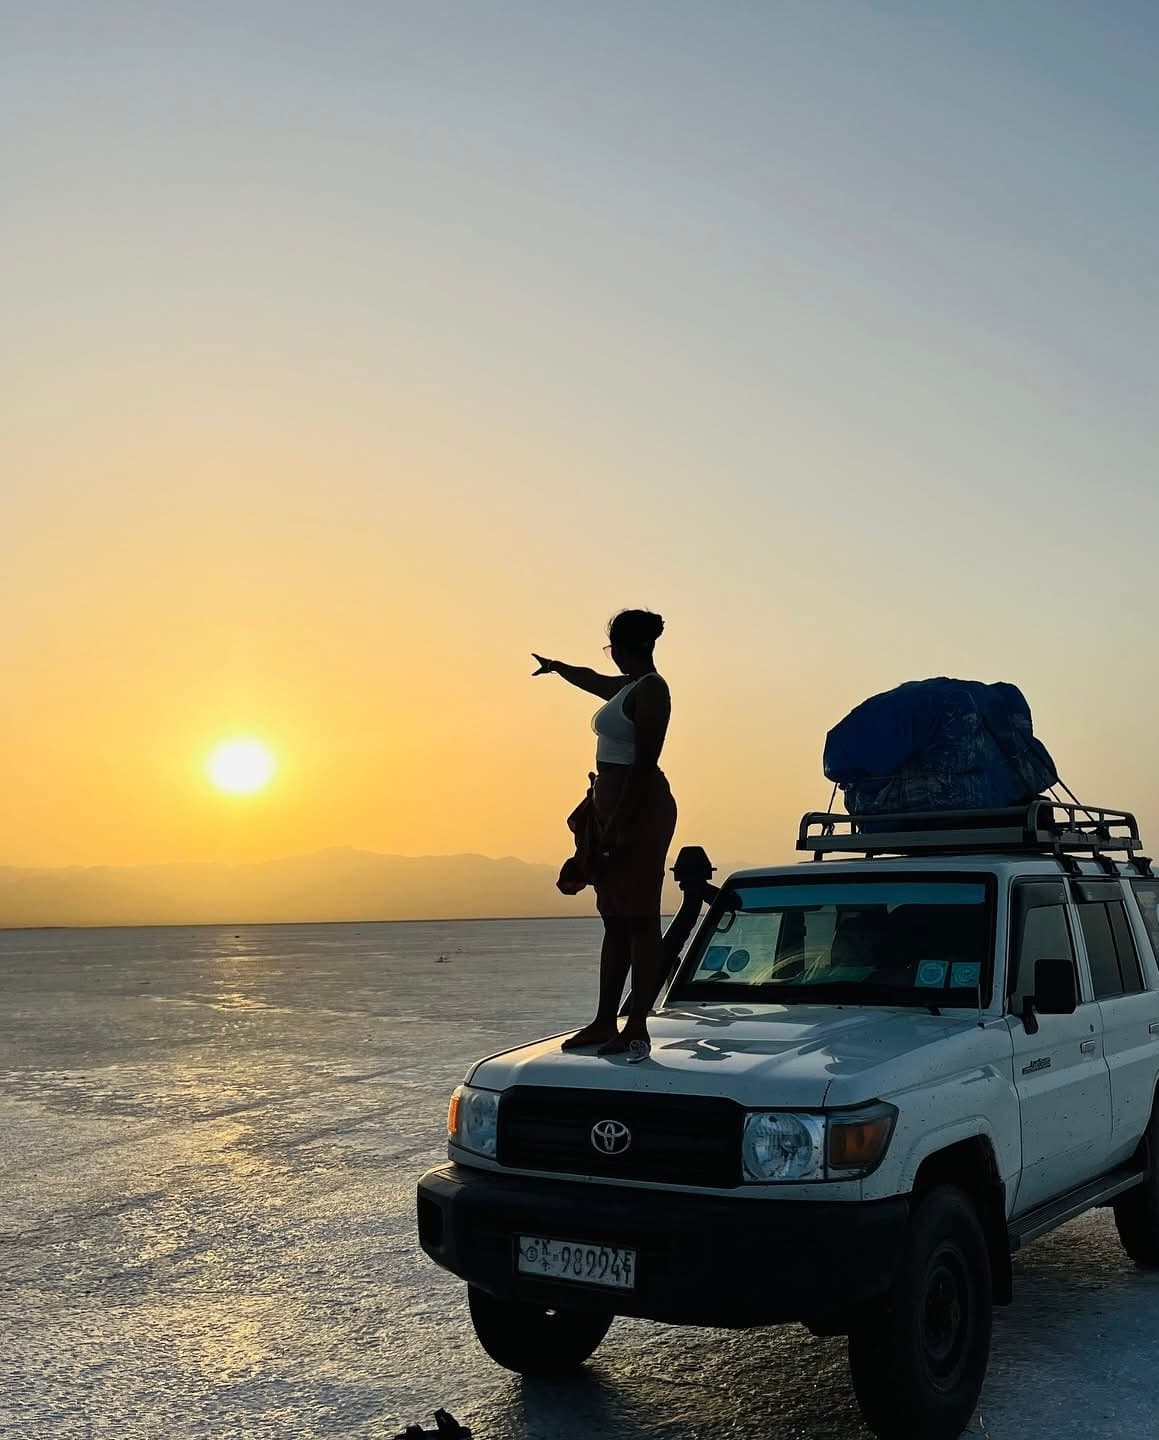
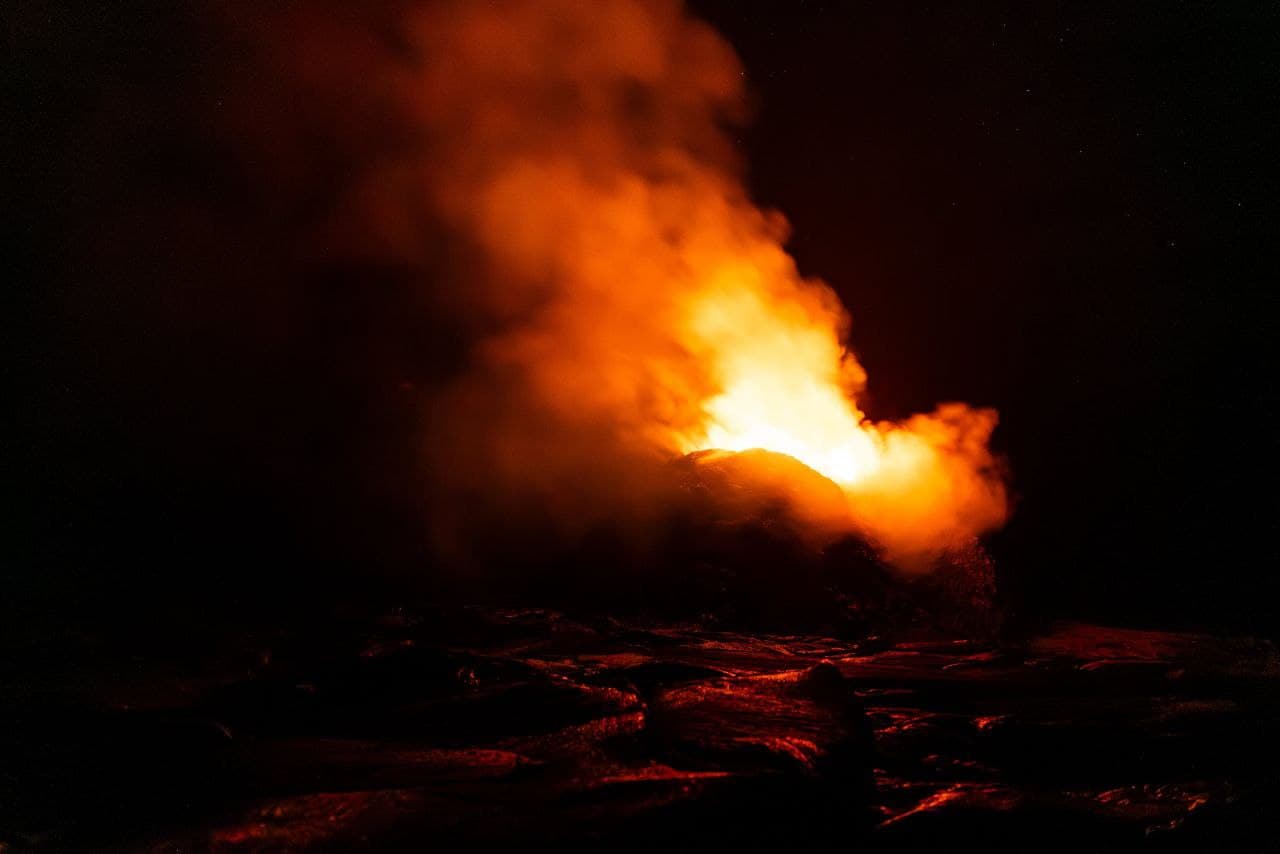
Inquire About This TourBegin with a guided day in Addis Ababa, then travel to Semera to launch your Danakil Depression expedition. Explore Lake Afdera, Dallol’s mineral colors, salt extraction at Lake Asale, and Erta Ale’s lava lake before flying back to Addis.
Duration: Owner document listed 8 days / 7 nights; the day program supplied covers Days 1–5. Confirm if additional days should be added.
Route: Addis Ababa → Semera → Danakil / Dallol / Erta Ale → Semera → Addis Ababa
Arrival at Bole International Airport; transfer to your hotel. Guided city tour: National Archaeological Museum (including Lucy), the Ethnological Museum at Addis Ababa University, Holy Trinity Cathedral, and Mount Entoto for panoramic views of the city. Overnight hotel.
Locations: Addis Ababa · National Museum · Ethnological Museum · Holy Trinity Cathedral · Mount Entoto
Transport: airport transfer · vehicle
Stay: Hotel
Inclusions will be confirmed on your tailored quote (guides, transport, selected meals, and park fees typically apply).
International flights, visas, travel insurance, and personal expenses are typically excluded — confirmed in writing per trip.
 Adventure
4 Days
3 nights · Flight and surface
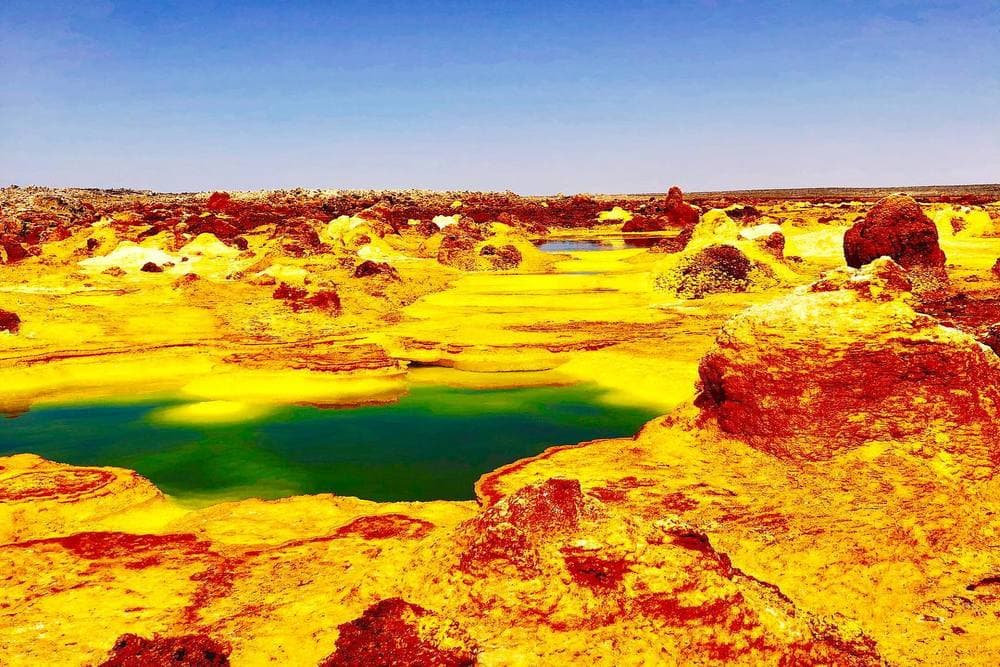
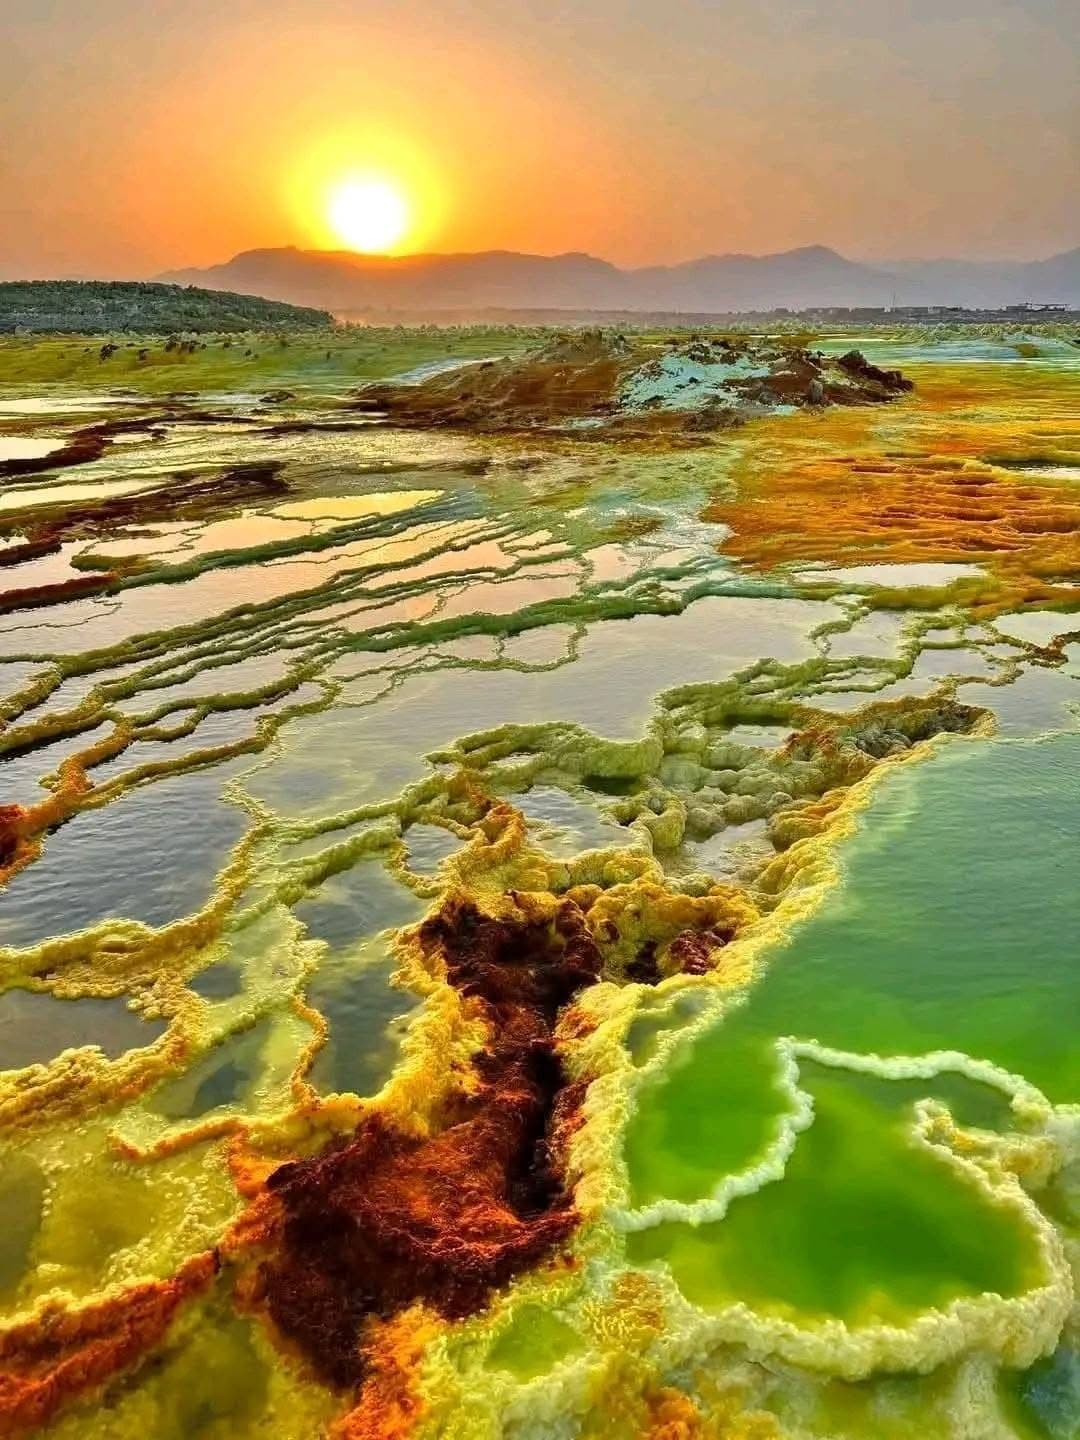
Addis Ababa · Semera · Hamad Ela · Dallol
Price on request
 Historical
8 Days
7 nights · Flight and surface
Addis Ababa · Lalibela · Semera · Hamad Ela
From $1,200
 Bird Watching
6 Days
5 nights · Flight and surface
Addis Ababa · Hawassa · Dinsho · Langano
Price on request